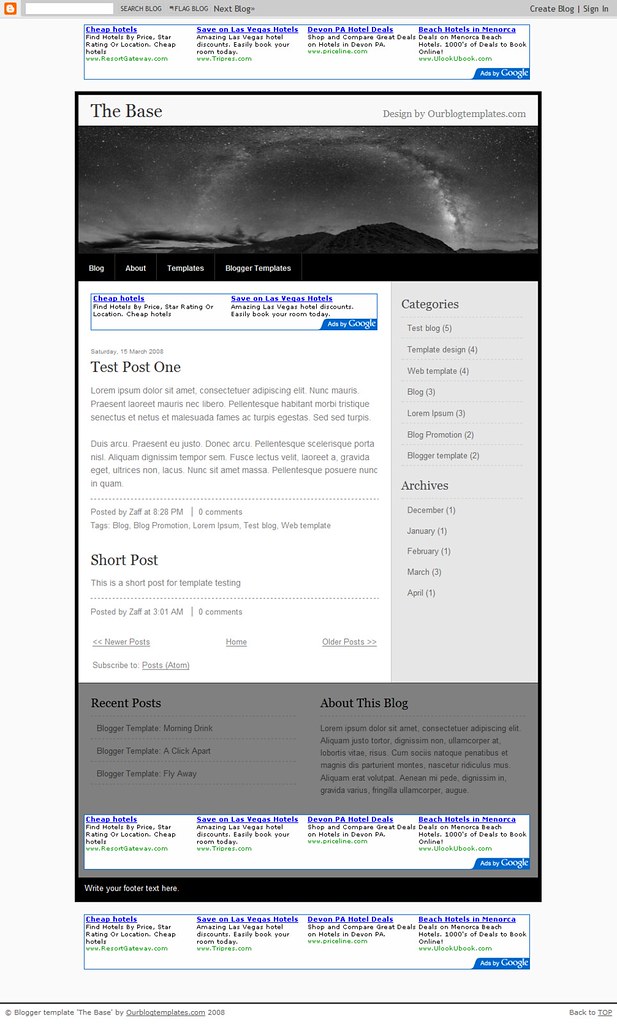
Hiding the Blogger nav-bar is one of the most popular customizations for Blogger blogs. The advantage of this is that your blog design does not immediately appear to be powered by Blogger, and it is very useful for designs where the appearance of the nav-bar distracts from the overall design of the blog.The only downside of removing the nav-bar is that the admin links for “New post”, “Customize” and “Log Out” are no longer visible. When the nav-bar is visible, blog administrators can create a new post or customize their layout with just one click; when the nav-bar is hidden, many more clicks are required to access the dashboard panel again.
In this post, I’ll explain how you can easily add a “Admin Control Panel” widget which enables one click access to the main sections of your dashboard if you have hidden the Blogger nav-bar from your layout.
First things first!There are two things we need to do before adding the control panel to our Blogger template:
Make a back-up of the existing template
- Find our unique Blog ID number
Let’s go through both of these in order.Make a back-up of your Blogger template
As we are adding code directly to the Blogger template for this customization, it is omportant to make a back-up of the existing (working) template code.
Then if we do make any major errors, we can easily restore the original working template to our blog.
To make a back-up of your Blogger template, go to Layout, Edit HTML in your Blogger dashboard, and look for the “Download full template” link near the top of the page.
Clicking on this link will prompt you to save your existing template as an XML file to your computer hard drive. You can change the name of the file and choose the location to ensure it is easy to find if you need to use this later.
Locate your unique Blog ID numberTo create the admin control panel, we need to use your unique Blog ID number, as this will form part of the URL required for admin links.
To find your Blog ID number, log into Blogger and ensure you have accessed the dashboard you intend to work with.
While you are logged in, access any page of your Blogger dashboard and take a look at the address bar in your browser:

Locating your Blog ID number
Within the URL you will notice a string like this:blogID=XXXXXXXXXX Where XXXXXXXXXX is the unique identifier for your blog.
You need to make a note of the BlogID number for the blog you wish to work with so we can add this in the links for your admin control panel.
Adding the control panel to your templateThe Admin Control Panel will only be visible when the owner/author of the blog is logged into their relevant Blogger account. It is invisible to blog readers, similar to the “edit post” and “edit widget” links which are only visible while you are logged in and viewing your own blog.
To add the control panel to your Blogger template, go to Layout>Edit HTML and do not check the “Expand widget templates” box.
Then search for the following line of code (or similar):
<b:section class='sidebar' id='sidebar' preferred='yes'>
Immediately before this line, paste the following lines of code:
<span class='item-control blog-admin'>

<h2>Admin Control Panel</h2>>

<h2>Admin Control Panel</h2>

<a href='http://www.blogger.com/post-create.g?blogID=BlogIdNumber‘>New Post</a>

|

<a href=’http://draft.blogger.com/blog-options-basic.g?blogID=BlogIdNumber’>Settings</a>

|

<a href=’http://www.blogger.com/rearrange?blogID=BlogIdNumber‘>Change Layout</a>

|

<a href=’http://www.blogger.com/html?blogID=BlogIdNumber‘>Edit HTML</a>

|

<a href=’http://www.blogger.com/moderate-comment.g?blogID=BlogIdNumber‘>Moderate Comments</a>

|

<a href=’http://www.blogger.com/logout.g’>Sign Out</a>

</span>
Replace all instances of
BlogIdNumber with your unique BlogID.
Once you have done this, preview your template. You should not see any of the code for the Admin Control Panel appear in your template during the preview! If all is well, you can then proceed to save your template.
Now take a look at your blog. While you are logged in to Blogger, you should notice your control panel appear above the widgets in your sidebar.

If you log out of Blogger and look at your blog, you will not see the control panel appear (this is also how your readers will see your blog).

How this worksThe code for the control panel is wrapped in span tags with the class of “item-control blog-admin”. These CSS classes are not included in your Blogger template code, but are instead added in when your blog pages are generated by Blogger’s external scripts.
These classes also apply for your post and widget editing icons (the familiar pencil and wrench icons) which are invisible to readers of your blog.
The links will still be visible if a reader views the source code of your blog. However, these links are only accessible by the administrators of the blog. If anyone else attempts to access these pages, they will be asked to log in to their own Blogger account and would be unable to make any changes to your own blog.
How to hide the Blogger nav-barIf you do not already hide the Blogger nav-bar in your template, you can achieve this in just a few simple steps:
Go to Layout>Edit HTML in your Blogger dashboard.
- Just before this tag, add the following lines of code:
#navbar-iframe {
height:0px;
visibility:hidden;
display:none
}
- Then save your template
These few lines of CSS code hide the Blogger nav-bar from the design. The code is still present in the source code, and all functions generated by the nav-bar will still work.


 22:17
22:17
 Admin
Admin