 20:19
20:19
 Admin
Admin

I have been wondering for some time now how to create a good looking carbon fiber background or wallpaper. I started playing around with some color combinations to get the carbon fiber to look right. So lets get started.
What you need to have: Adobe Photoshop
PS: ⌘ key for Mac users / CTRL key for Windows users
Prepare the texture pattern
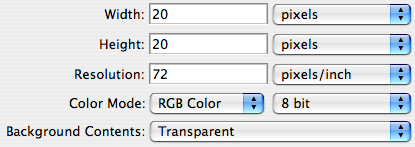
1. In Photoshop, create a new document. Set the size at 20×20 pixel.
2. Zoom in (z) few step so that you can work on it easily. Choose Rectangular Marquee from the toolbar (m).
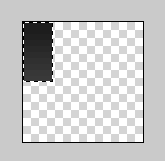
3. Make the selection of 5×10 pixel

4. Set foreground and background colour as different tone of gray:
Foreground: #171717
Background: #3a3a3a

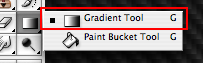
5. Select Gradient Tool (g), then choose ‘Foreground to Background’

6. Fill the selection with the colours chosen by dragging across the selection area.
7. Make another selection of 10×5 pixel, fill with the gradient of:
Foreground:#282828
Background: #0d0d0d
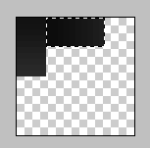
8. Select all (⌘A / CTRL-A), copy selection (⌘C / CTRL-C), paste selection (⌘V / CTRL-V), then use Move Tool (v) to arrange the new layer into position:
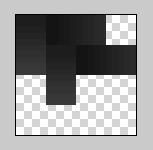
9. Paste the selection into new layer again and arrange until it looks like this:
10. Combine all the layers: Menu > Layer > Flatten Image
11. Define a new pattern: Menu > Edit > Define Pattern…

Making the actual wallpaper
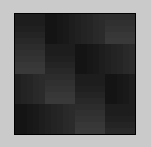
12. Create a new document by pressing ⌘N / CTRL-N. Set the size of your screen resolution. Eg: 1600×1200

13. Fill with the texture pattern: Menu > Edit > Fill… ; Use ‘Pattern’ and choose the last pattern that you just created from the Content section.


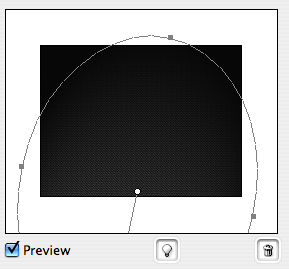
14. Apply effect: Menu > Filter > Render > Lighting Effects…

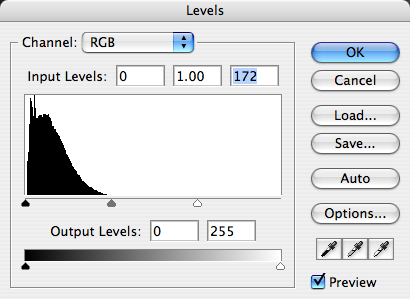
15. Adjust levels (⌘L / CTRL-L): Menu > Image > Adjustments > Levels…

Save!
16. To preserve the detail quality of the wallpaper, save it as PNG or BMP.
 Posted in: Applications,Photoshop,Tricks,Tweaking


0 comments:
Post a Comment